Step 1/2. Sterilize all equipment you are going to use in this process. We used Iodophor, 1 cap full per 5 gallons of water.

Step 1. Boiling the water in a large pot. This is pretty self explanatory, we used a large stock pot and filled it to within 2 inches of the top and boiled the water. Be careful on this step, it's easy to underestimate how much space your ingredients will take up, you don't want this to boil over on your stove, it wouldn't be pretty.
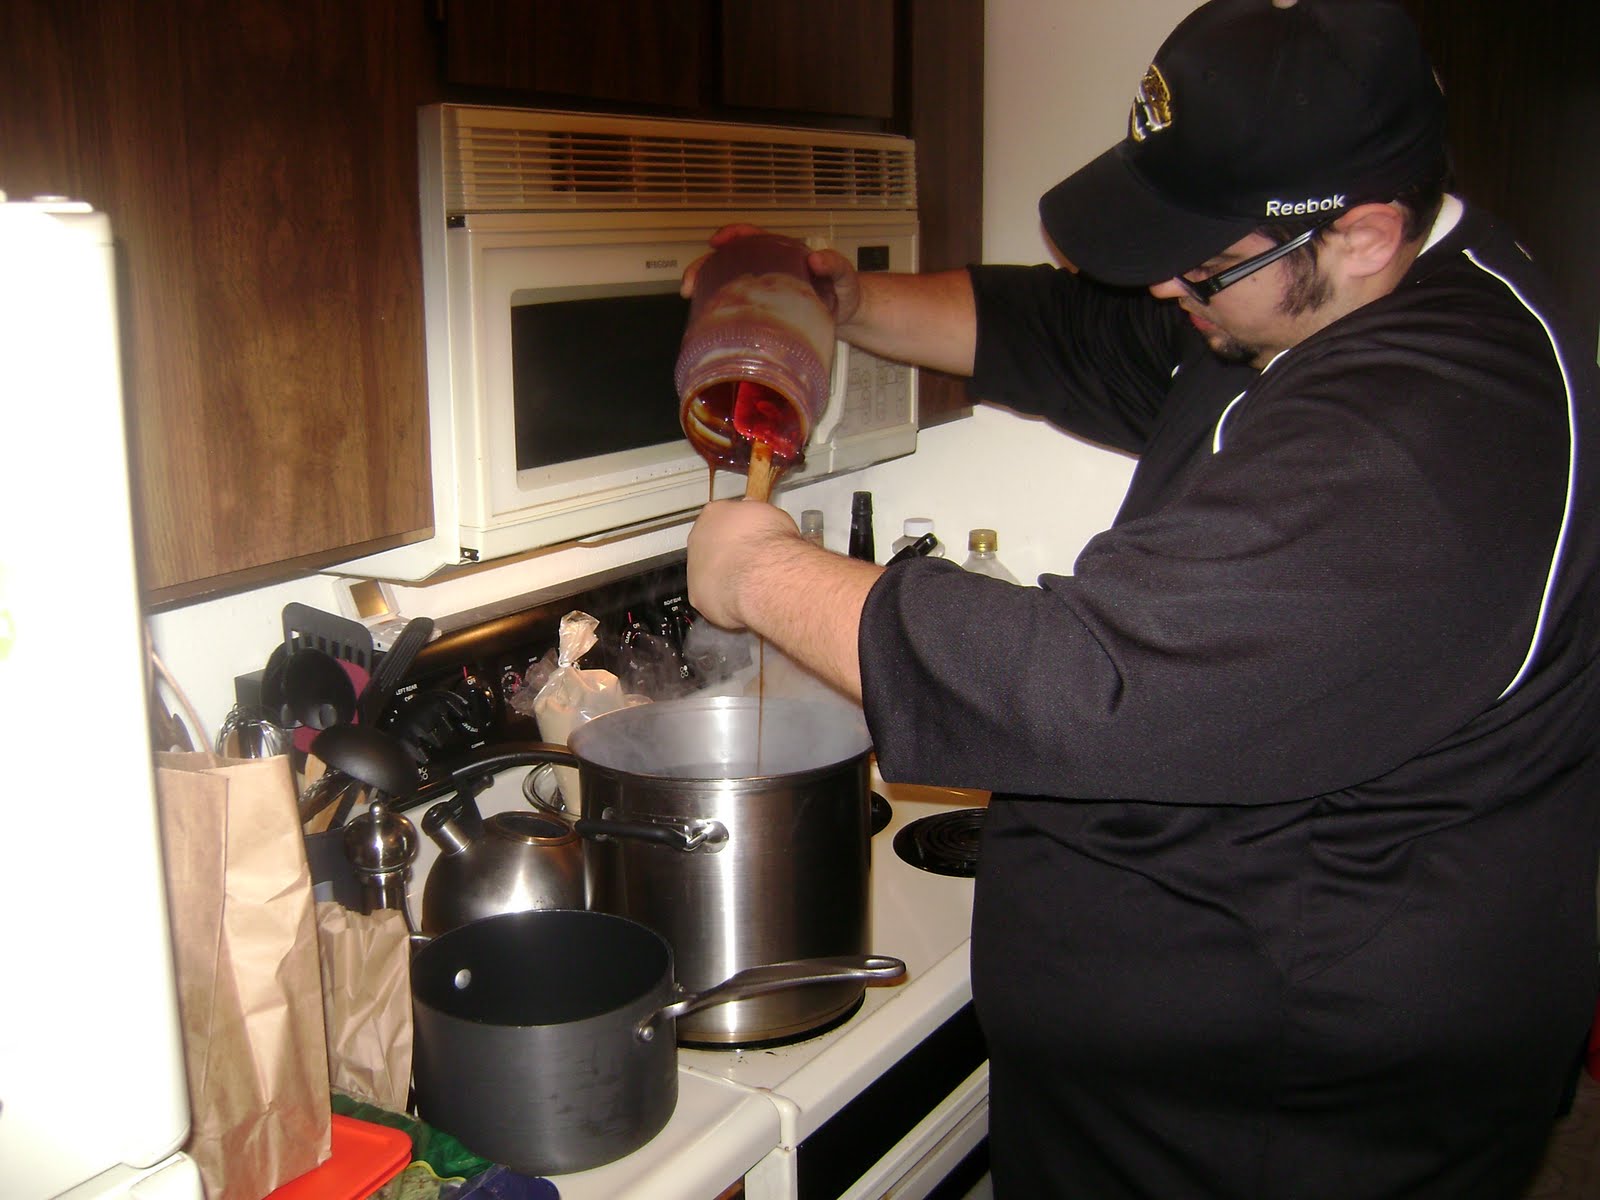
2. After we brought the water to a slow boil we added the 6 lbs. of amber malt extract. If you are using a large jug of the extract like we did you may want to set it in a sink or bucket full of hot water to make it more viscous because this stuff is really sticky. We waited for the malt extract to mostly dissolve before we started adding other ingredients. I'm going to include adding the other ingredients into this step because we added them one after another. I will however include a list of the ingredients we used.
6 lbs Amber Malt Extract
1 lb Black Malt
1 1/2 lbs. Dark Dry Malt Extract (powder)
1 lb Flaked Barley
2 oz. Cascade hops (pellets)
3. We let the wort "boil" (I use the term boil lightly because it wasn't actually boiling) for an hour at about 200 °F. During the boil we watched the wort go from having a very thick frothy "head" to having almost no head at all. I don't know what causes this but I think it has something to do with hitting the "heat break".


4. After the boil we took the wort and poured it through a strainer into the sanitized bucket. We had a semi-hard time with this because we had a pretty small stainer and the wort is pretty thick so it wasn't easy to get all of the liquid out.

4 1/2. We poured enough sanitized water into the wort to bring the temperature down to below 90°F. This is the temperature that is safe for the yeast.

5. We put the yeast in the wort. In order to do this I simply spread the yeast over the top of the wort and left it. We put a lid on the fermenter and stuck the air lock in the lid. The air lock had a splash of cheap vodka in it per the instructions. I'm assuming this is to protect the wort from contamination. We then stuck the fermentation bucket in a corner of the house that stayed between 60 and 75 °F again, according to the instructions.
Failure #1. Tonight we realized that we did not read the side of the bucket and although we thought we were filling it to 5 gallons we actually filled it to 6 gallons. We aren't sure what this will do to the brew but we are hoping it will still turn out all right. I'll let you know what happens.
No comments:
Post a Comment